Using Cube Cloud with dbt
If you already use dbt (opens in a new tab) for your data modelling, you don’t need to start over when adopting Cube Cloud (opens in a new tab). Cube Cloud integrates directly with dbt (opens in a new tab) projects, letting you reuse your existing models and build metrics, joins, and pre-aggregations on top of them. Finally, you can create views to organize and present your data model, and expose it to Embeddable using the Data Provider API.
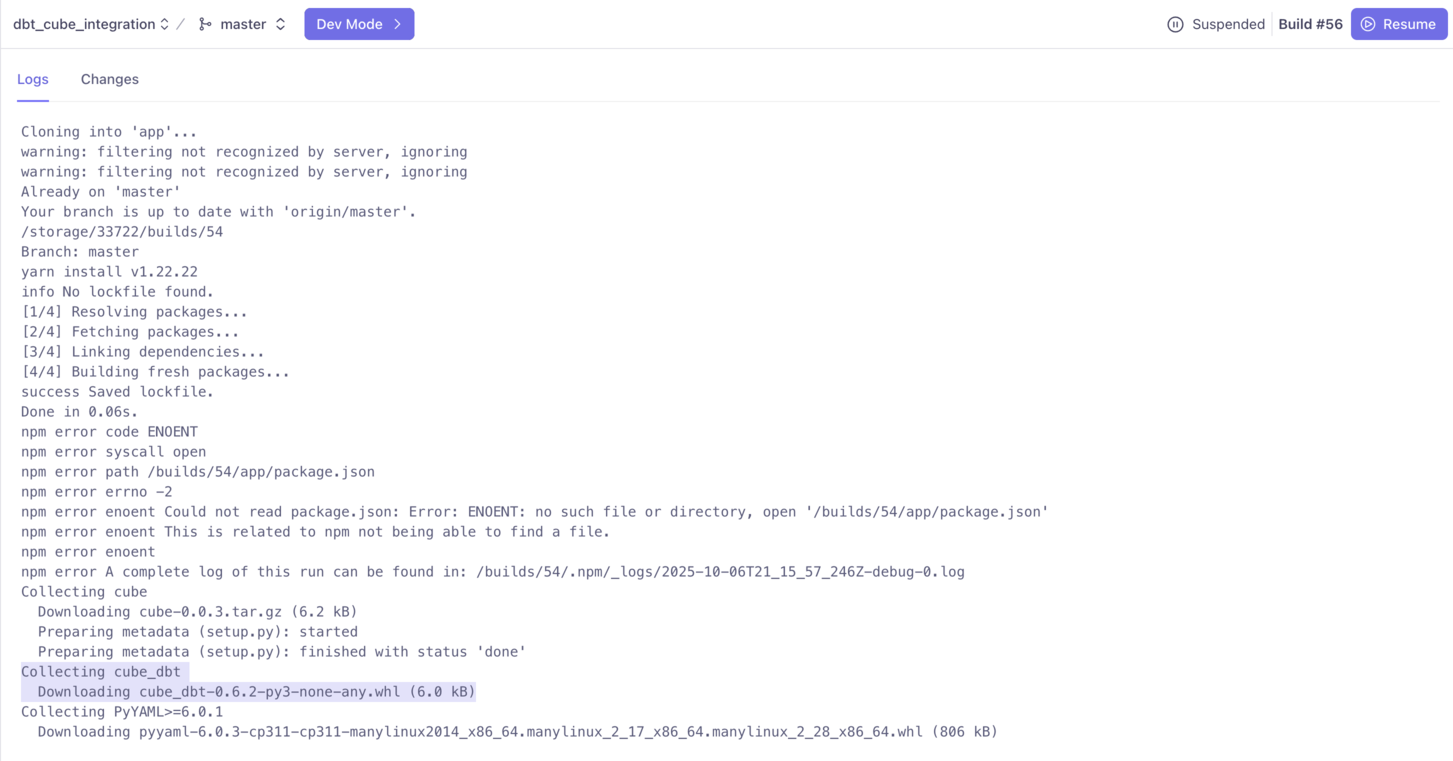
Refer to the diagram below to see how dbt and Cube Cloud work together. From data modelling in dbt to semantic enrichment in Cube.

Source: Cube's Official Docs (opens in a new tab)
Before you start
This guide assumes that:
- You already have an existing dbt project and are familiar with running
dbt buildanddbt run. - You have access to your dbt project’s
manifest.jsonfile, generated afterdbt build/dbt run. - You are using Cube Cloud for your Cube deployment.
- You’re comfortable using Python and managing dependencies with a
requirements.txtfile.
The example below shows how dbt and Cube Cloud work together. You’ll connect your dbt project, extend your models with Cube’s semantic capabilities, and eventually build dashboards in Embeddable.
1. Set up a simple dbt model
Let’s start with a minimal dbt model. In your dbt project, define a model called customers:
-- models/customers/customers.sql
{{ config(materialized='view') }}

SELECT
  id,
  email,
  country,
  signed_up_at,
  signed_up_at_with_time
FROM {{ source('public', 'customers') }}
Run dbt build in dbt to build your model, then use dbt run to materialize it in your database (as a view in this example).
Cube works with all dbt materializations except ephemeral (opens in a new tab) models. You can learn more about dbt materializations here (opens in a new tab).
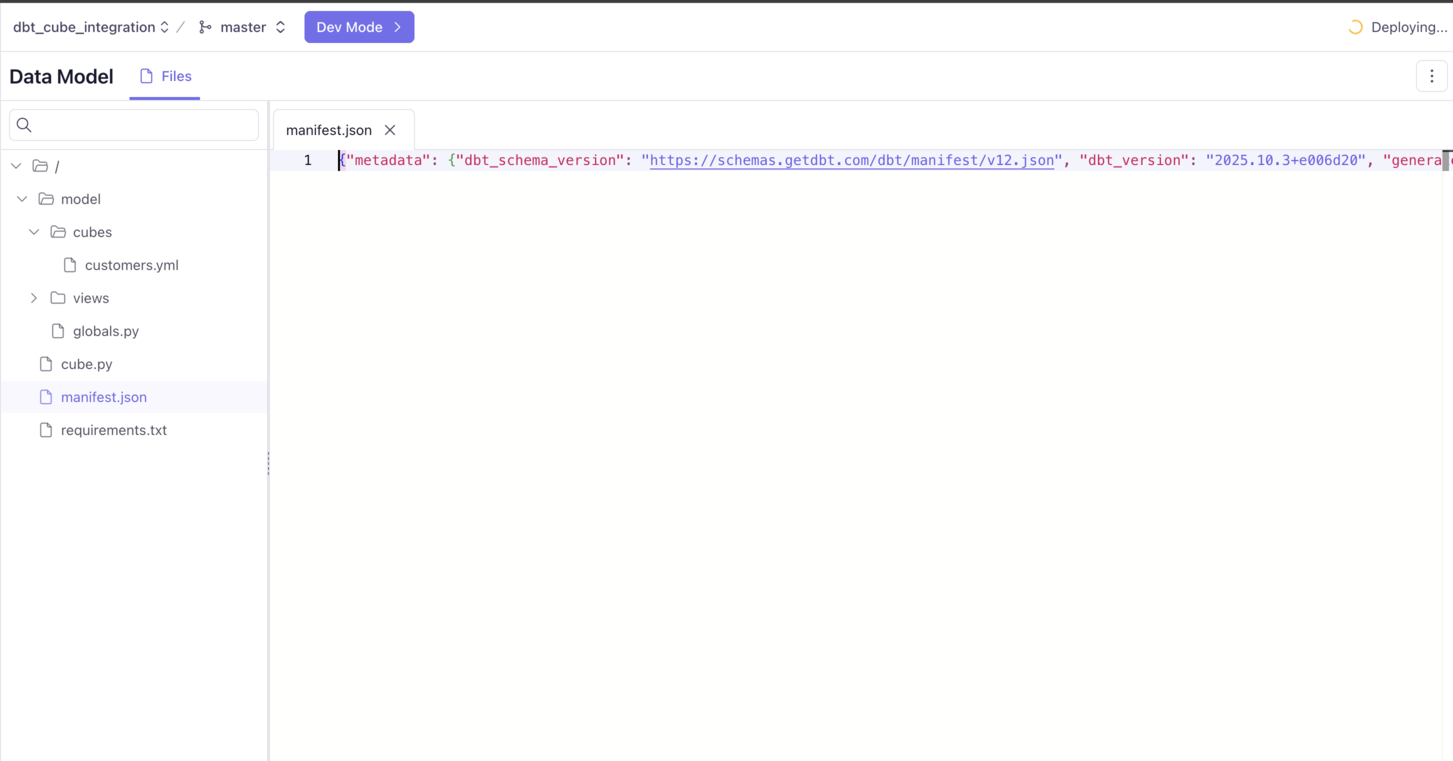
Once the command completes, dbt generates a manifest.json file under target folder that describes your models, sources, and lineage. Cube uses this file to understand your dbt project structure.
2. Connect Cube Cloud to your dbt project
Now we’ll connect Cube Cloud to your dbt project. For this step, you’ll need the cube_dbt (opens in a new tab) package and the manifest.json generated by your dbt project.
Add the cube_dbt package to your requirements.txt file
The cube_dbt (opens in a new tab) package helps define your semantic layer on top of existing dbt models extending your dbt work seamlessly within Cube.
Add it to your requirements.txt file located in the root of your Cube Cloud project:
cube_dbtOnce you add this to your requirements.txt, Cube Cloud automatically installs the package when it builds your branch.
Add the manifest.json file to the root of your project
Commit your dbt manifest.json file to the root folder of your Cube project. This enables Cube to read your dbt manifest and render dbt models directly inside your Cube model files.
Render your dbt models in Cube
cube_dbt package provides convenient tools to render dbt models in YAML files using Jinja (opens in a new tab).
To do this, dbt models must be made accessible from Jinja templates so they can be referenced in your Cube models. We’ll use the globals.py (opens in a new tab) file for this.
The globals.py (opens in a new tab) file in Cube Cloud is a special configuration file that lets you define Python variables, functions, and imports that can be used across your entire Cube project. It’s particularly useful for creating reusable logic that can be accessed from any part of your data model.
Here, we use it to expose dbt models through two helper functions: dbt_models (opens in a new tab) and dbt_model (opens in a new tab) in your globals.py file:
# globals.py
from cube import TemplateContext
from cube_dbt import Dbt

dbt = Dbt.from_file('./manifest.json')
template = TemplateContext()

@template.function('dbt_models')
def dbt_models():
    return dbt.models

@template.function('dbt_model')
def dbt_model(name):
    return dbt.model(name)
Things to notice
-
dbt = Dbt.from_file('./manifest.json')This is the simplest way to read your
manifest.jsonfile from the local project directory.You can also load manifest file from remote storage (both public and private). Learn more ways to load your manifest file here (opens in a new tab). -
Template functions
The
dbt_models()anddbt_model(name)functions expose your dbt models to Jinja templates, allowing you to render them dynamically inside Cube model files. Learn more about ways to render dbt models in Cube here (opens in a new tab).
3. Create a Cube model from a dbt model
Now, let’s define a Cube model that builds on top of our customers dbt model.
# model/cubes/customers.yaml
{% set model = dbt_model('customers') %}
cubes:
  - {{ model.as_cube() }}

    dimensions:
      {{ model.as_dimensions() }}

    measures:
      - name: count
        type: count
        title: "Customer Count"
Things to notice:
{% set model = dbt_model('customers') %}loads thecustomersmodel directly from your dbt project, making it available in your Cube models. It uses thedbt_modelfunction we defined earlier in theglobals.pyfile.{{ model.as_cube() }}(opens in a new tab) and{{ model.as_dimensions() }}(opens in a new tab) automatically import the dbt model’s structure columns, data types, and relationships , so you don’t need to redefine them manually. Learn more about model functions here (opens in a new tab).- You can then enhance the model with additional semantics like measures, joins, or pre-aggregations right within Cube.
- In the example above, we’ve added a simple
countmeasure showing how you can define measures directly at the Cube layer.
You can now query your customers data within your Cube environment, just like any other Cube model.
Best practice
It’s best practice to render each dbt model (or data mart) as a cube in its own file. This keeps your Jinja templates simple and makes your data model easier to maintain as it grows.
For example, if your dbt project defines three models customers, products, and orders you’d create three separate Cube models:
model/cubes/
  customers.yaml
  products.yaml
  orders.yaml
You can easily customize measures, joins, and pre-aggregations that apply to each cube individually.
This approach keeps your models modular, readable, and consistent even when combining dbt and non-dbt cubes in the same project.
4. Connect your Cube instance to Embeddable
Once your models are available in Cube, use our Data Provider API to connect your Cube instance to Embeddable.
All your models from Cube will automatically appear in Embeddable.
5. Scaling up: working with larger dbt projects
In most real-world dbt projects, you’ll have multiple layers:
- Staging models for cleaning and standardizing raw data
- Intermediate models for transformations and joins
- Marts that serve as your final reporting layer
Typically, you’ll expose your marts (opens in a new tab) in Cube, since they’re the cleanest, analytics-ready layer of your dbt project.
Your globals.py would now look like this filtering to include only models from your marts layer:
# globals.py
from cube import TemplateContext
from cube_dbt import Dbt

dbt = Dbt.from_file('./manifest.json').filter(paths=['marts/'])
template = TemplateContext()

@template.function('dbt_models')
def dbt_models():
    return dbt.models

@template.function('dbt_model')
def dbt_model(name):
    return dbt.model(name)
This setup imports only dbt models located in the marts/ directory into Cube. You can then define joins between marts, add measures, or create pre-aggregations to optimize performance and build views on top to create a clear facade for your data model.
Next steps:
- Learn more about connecting cube with dbt here (opens in a new tab).
- Learn more about data provider API here (opens in a new tab).